Announcing New Ways to Use Badges @P2PU
Peer to Peer University 2013-07-17
We’re Doing the Happy Dance
We’re beyond excited to share what we’ve launched this week. This new suite of features will make it easy-peasy to take your Badge and share it with the wider world. As such we’re calling this the “Happy Dance” release & hope you will too.
Share Your Badge Anywhere on the Web
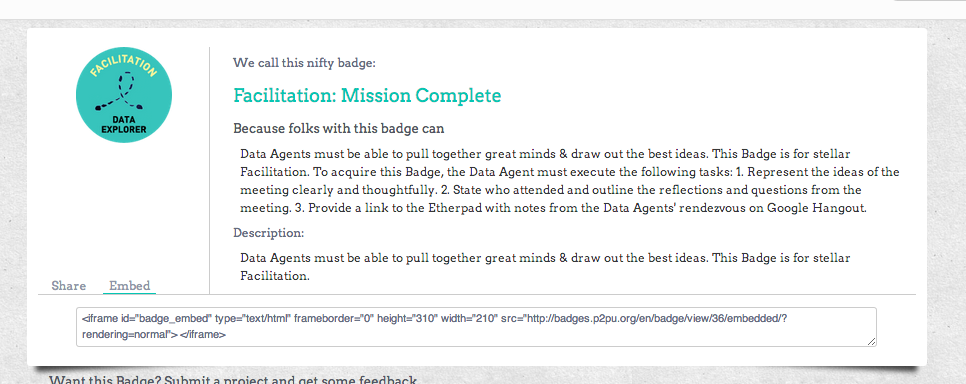
We envisioned badges.p2pu.org as a place where people could create Badges and use them anywhere–for events, for workshops, and for other online learning experiences outside of of P2PU. Now you can take the Badges you’ve designed and embed it on your website as an iframe. After you create your Badge, simple click “Embed” underneath it, and the code will be generated for you to embed it on your site. You can add the Badges to a WordPress blog by copy and pasting the embed code in the HTML view for a page or post.
You can also share your Badge via Twitter. Go ahead–build some community around your glorious creation!
Add Your Badge to Your P2PU Course
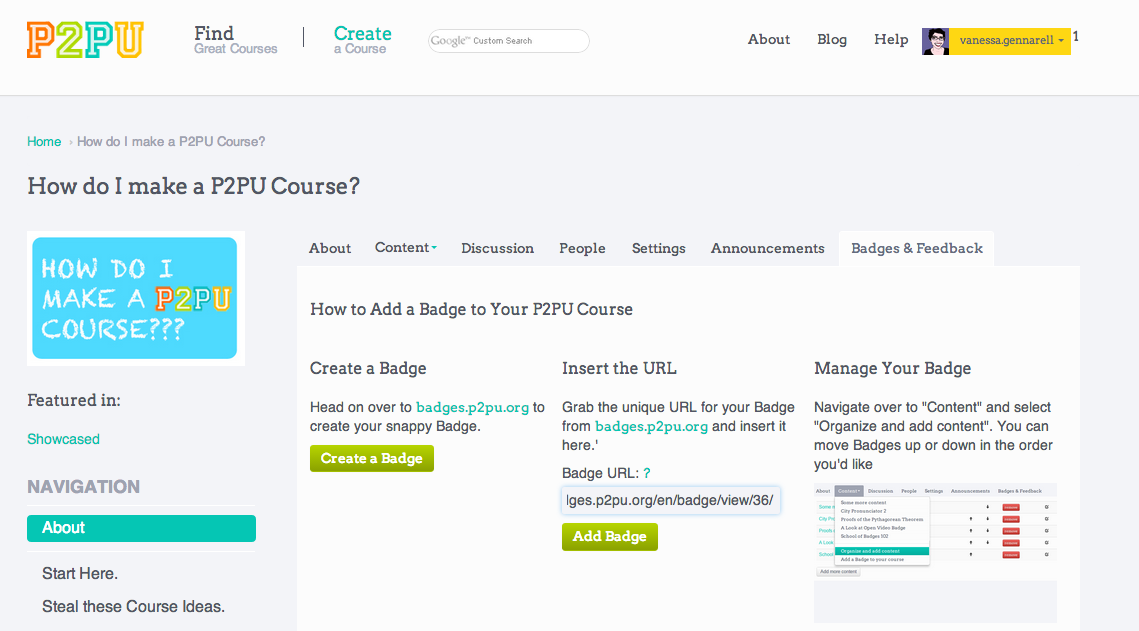
We’ve also launched integration with P2PU.org courses. Here’s how to do so in 3 simple steps.
Step 1: Copy the unique URL from your Badge on badges.p2pu.org. Once you are on the page for your Badge, copy the URL from the browser.
Step 2: Go to your P2PU Course and click on the tab “Badges and Feedback.” You can insert the URL for your Badge there, and there are spiffy directions.
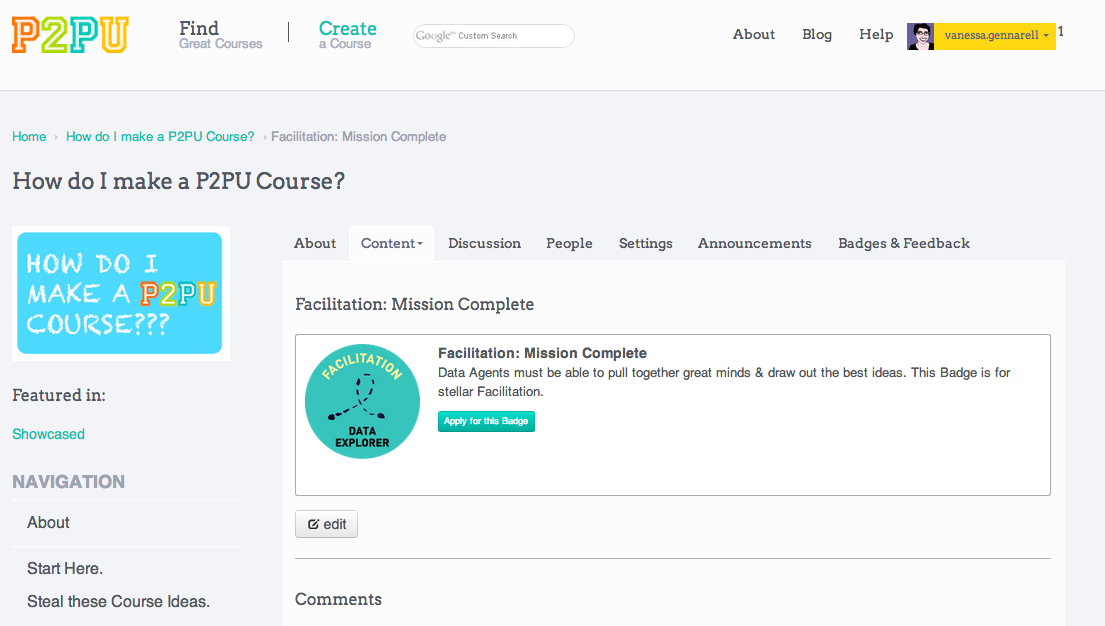
Step 3: Presto! Once you click, “Add Badge,” the Badge will appear as a piece of Content in the left-hand navigation, and learners will see it. From there, you can move the Badge around in your course, or delete it, under “Content: Organize and Manage Content.”
How Do I Get Started?
We’re so glad you asked.
- You can make a Badge
- Take our Badgemaker Course
- Check out our gallery of amazing Badges for inspiration
- Post feedback on Badges to the P2PU team
Happy learning.


